Use
User interface overview
Safas loads in two windows: a command prompt (e.g. image in Figure 1), where all feedback on the commands and results are printed, and a window that contains parameters, control buttons, and a video display (Figure 2).
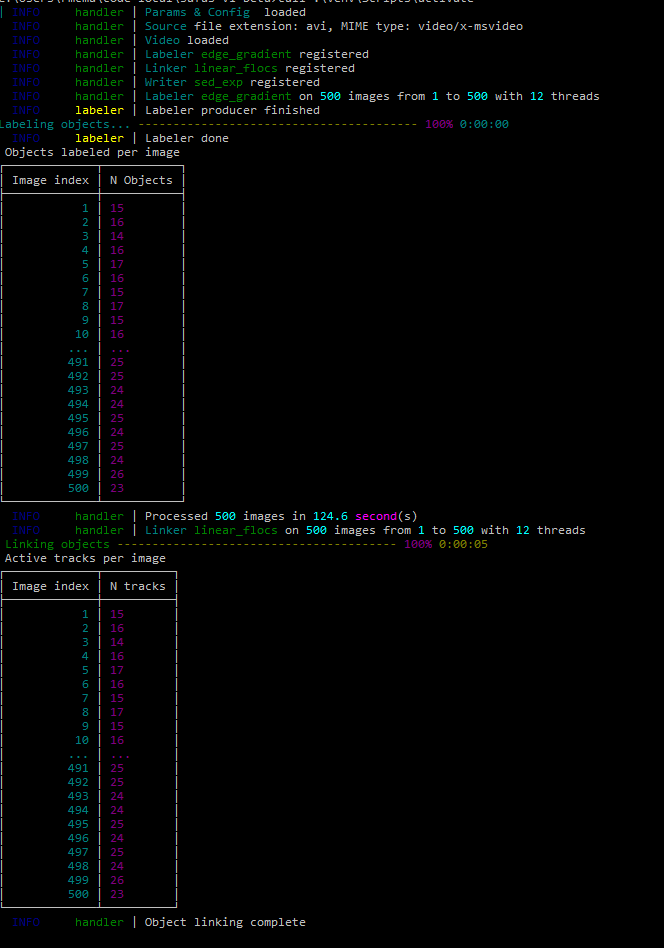
Fig. 1: CLI Window
The GUI main window of Safas has the following components:
-
Parameters tab. Contains all settings for control, display, and analysis. The architecture of SAFAS is divided into "I/O", "Labeler", "Linker", "Writer" and "Display". This gives the user fine-grained control over how the analysis is conducted and how the results are presented. Each top-level label is a drop-down which gives access to all parameters in the group.
-
Track tab. This contains two lists (tracks and objects) which will display the active tracks and identified objects in the current frame.
-
Viewer. The loaded video is displayed in the top right frame.
-
Video Control. Located at the lower right. This allows the user to step the video forward or back and to toggle processing of images on/off.
-
Tools. Simple tools for exporting data and saving configuration.

Fig. 2: Main Window
Processing a floc sedimentation video
Here is an overview of a workflow that can be used to process videos with SAFAS. This description considers the use of the software from the compiled safas.exe file in Windows.
To start with, here are a few notes on the functionality that are helpful to keep in mind:
-
The console window contains informative output about the state of the program and results of commands entered.
-
Set the "I/O, Input path" to the location you store your videos
-
Set the "I/O, Output path" to where you want to store the output
-
The new version of SAFAS automatically re-loads the last configuration from your selected "I/O, Output path"
-
Select a file to analyze with "I/O, Input file" and it will load automatically
-
Ensure the "process" radio button to "off" in the "video control" panel (below the viewer). Scrub through the video using the trackbar or using the forward and backward buttons.
-
Enable the "process" radio button. Ensure "I/O, process_on_new_frame" is selected in the "Parameters" panel.
-
Click the "Next" button to process the frame. Click the "Loop +1" button to re-process the frame. Adjust the "Labeler" parameters and click the "Loop +1" button again.
-
Navigate to the "Tracks" tab to see the objects identified. Select an object and click "+" to add it to the "Tracks" table (or "++" to add all objects). This is "manually" adding flocs to track.
-
Now, back in the "Parameters" tab, enable "process_n_frames" and set "n_frames" to 50 (for example).
-
Click the "Next" button in the "Video control" panel to enable processing.
-
View the output. Back in the "Tracks" tab it is possible to remove undesired tracks with the "-" button. Objects contained in removed tracks will be put back into the pool of "open" objects.
-
Save the output. Check the settings in the "Writer" tab of the "Parameters" tab. Select whether you want the cropped objects and original frames. Set a maximum deviation angle in the path and a minimum path length, etc.
-
Navigate to the path to inspect the saved output.
-
It is possible to merge the outputs of multiple analyses using the "merge" button (two diskettes) in the "Tools" box below the image viewer.